Harnessing Natural Light: A Guide to Studio Photography Without Artificial Lighting
In the realm of photography, natural light is a cherished resource. Its soft, diffused quality can breathe life into images, adding depth, warmth, and a touch of magic. While studio photography often relies on artificial lighting, harnessing natural light can yield stunning results that evoke a sense of authenticity and intimacy. In this guide, we'll explore how to effectively shoot photos in a studio setting using only natural light, along with three key locations to place your subject for optimal lighting.
Embracing Natural Light in the Studio
Shooting with natural light in a studio environment requires a bit of planning and creativity, but the results can be well worth the effort. Unlike artificial lighting, which can be controlled and manipulated to a high degree, natural light presents photographers with a unique set of challenges and opportunities. By understanding how to work with the available light and make the most of its inherent qualities, you can create images that are both visually stunning and emotionally compelling.
Setting Up Your Studio Space
Before diving into the specifics of lighting placement, it's essential to prepare your studio space for natural light photography. Start by selecting a room with ample windows or other sources of natural light. Ideally, you want a space with large, unobstructed windows that allow plenty of light to flood into the room.
Next, consider the time of day and the direction of the sunlight. The quality and intensity of natural light can vary significantly depending on factors such as the time of day, weather conditions, and geographic location. Experiment with shooting at different times of day to determine when the light is most flattering for your subjects.
Once you've chosen your studio space and determined the best time to shoot, it's time to set up your equipment. Keep in mind that natural light is constantly changing, so be prepared to adjust your setup accordingly as the shoot progresses.
Three Key Lighting Setups
Now, let's explore three different locations to place your subject within the studio space to make the most of natural light:
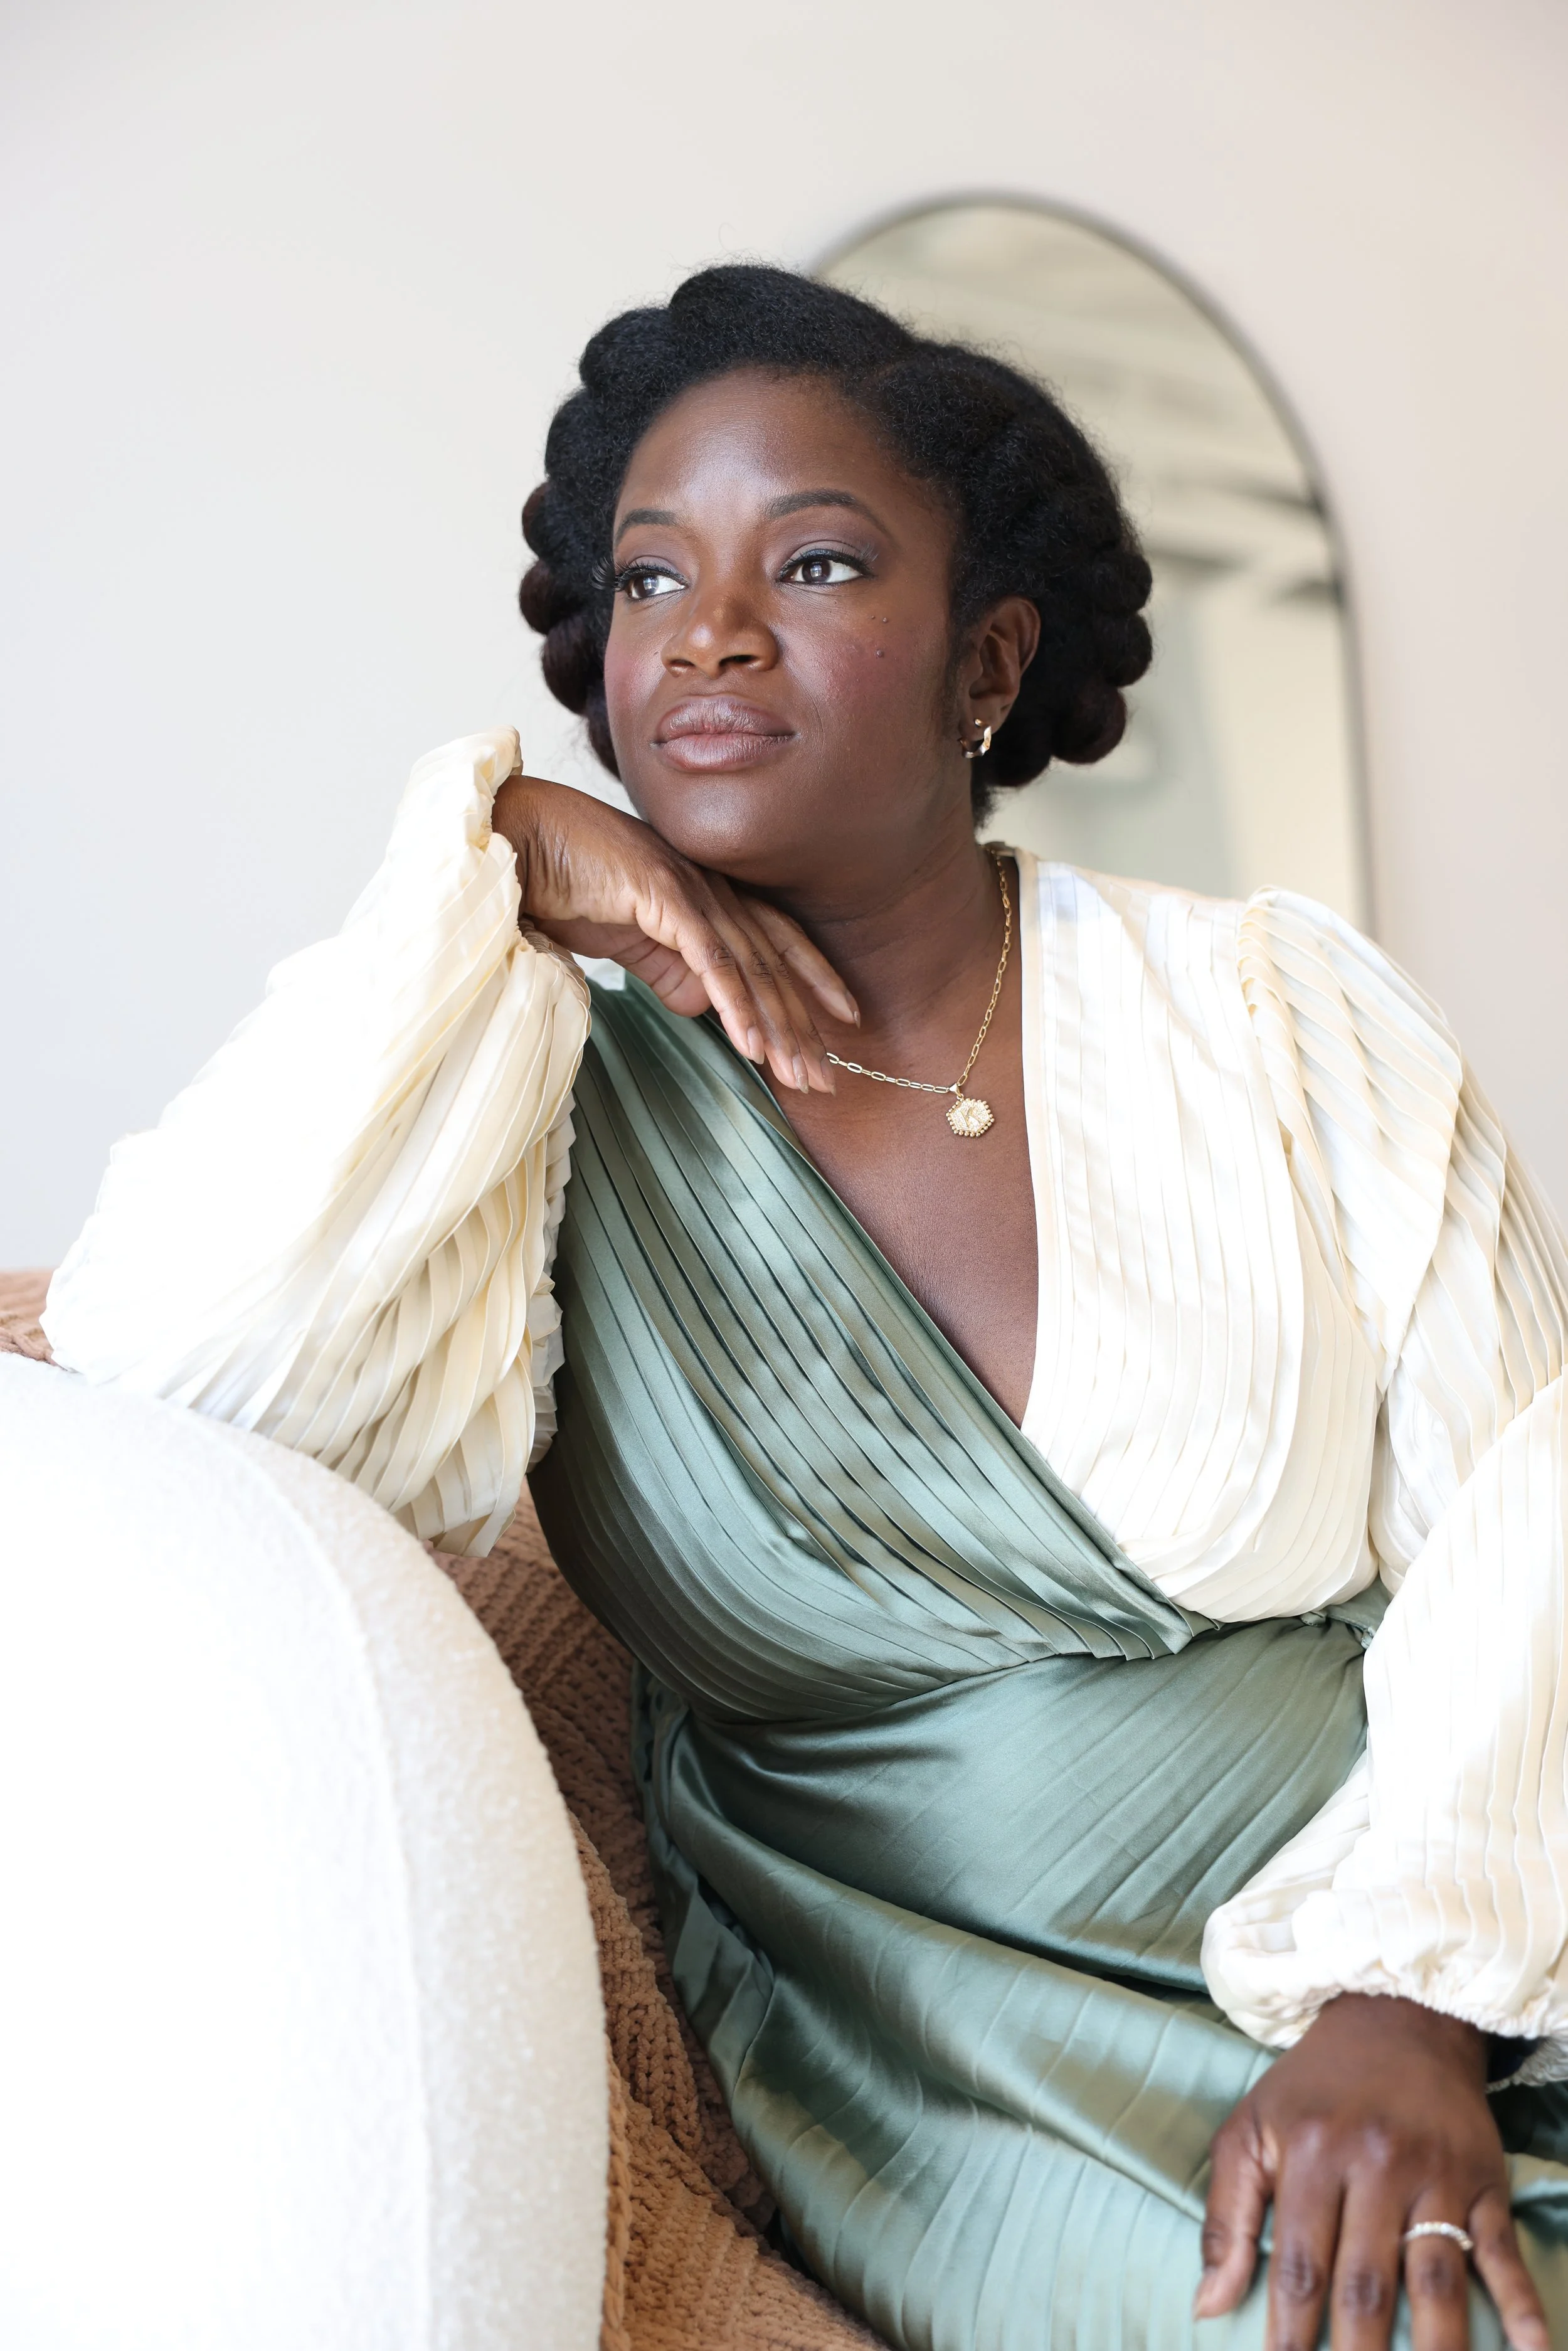
By the Window: Positioning your subject near a large window allows you to take advantage of the soft, diffused light that streams in from outside. This setup is ideal for capturing portraits, as the gentle light helps to illuminate your subject's features without casting harsh shadows. Experiment with different angles and distances from the window to find the most flattering light for your subject.
In the Open Space: If your studio space has an open area with ample natural light, consider positioning your subject in the center of the room. This setup allows light to flood in from all directions, creating a beautifully balanced and natural-looking illumination. Use reflectors or white foam boards to bounce light onto your subject's face and fill in any shadows.
Under an Overhang: If your studio space has a covered patio or overhang, take advantage of the soft, indirect light that filters through. Position your subject underneath the overhang, where the light is diffused and even. This setup is perfect for capturing outdoor-inspired portraits or lifestyle shots with a relaxed, natural vibe.
Tips for Success
Monitor the Light: Keep an eye on how the natural light changes throughout the shoot, and be prepared to adjust your setup accordingly. Cloud cover, time of day, and the position of the sun can all affect the quality and intensity of the light.
Use Reflectors and Diffusers: To enhance the natural light and fill in shadows, consider using reflectors or diffusers to bounce or soften the light. These simple tools can help you achieve a more balanced and flattering lighting setup.
Experiment with Composition: Don't be afraid to experiment with different compositions and angles to make the most of the available natural light. Move around your subject, try shooting from different heights and perspectives, and explore creative framing techniques to add visual interest to your images.
Embrace Shadows: While it's important to fill in harsh shadows, don't be afraid to embrace the natural shadows created by the available light. Shadows can add depth and drama to your images, creating a sense of mood and atmosphere.
In conclusion, shooting photos in a studio with natural light requires a bit of patience, creativity, and flexibility. By understanding how to work with the available light and experimenting with different setups and techniques, photographers can capture stunning images that are both authentic and visually compelling. So, embrace the beauty of natural light, set up your studio space, and let your creativity shine as you explore the art of studio photography without artificial lighting.

